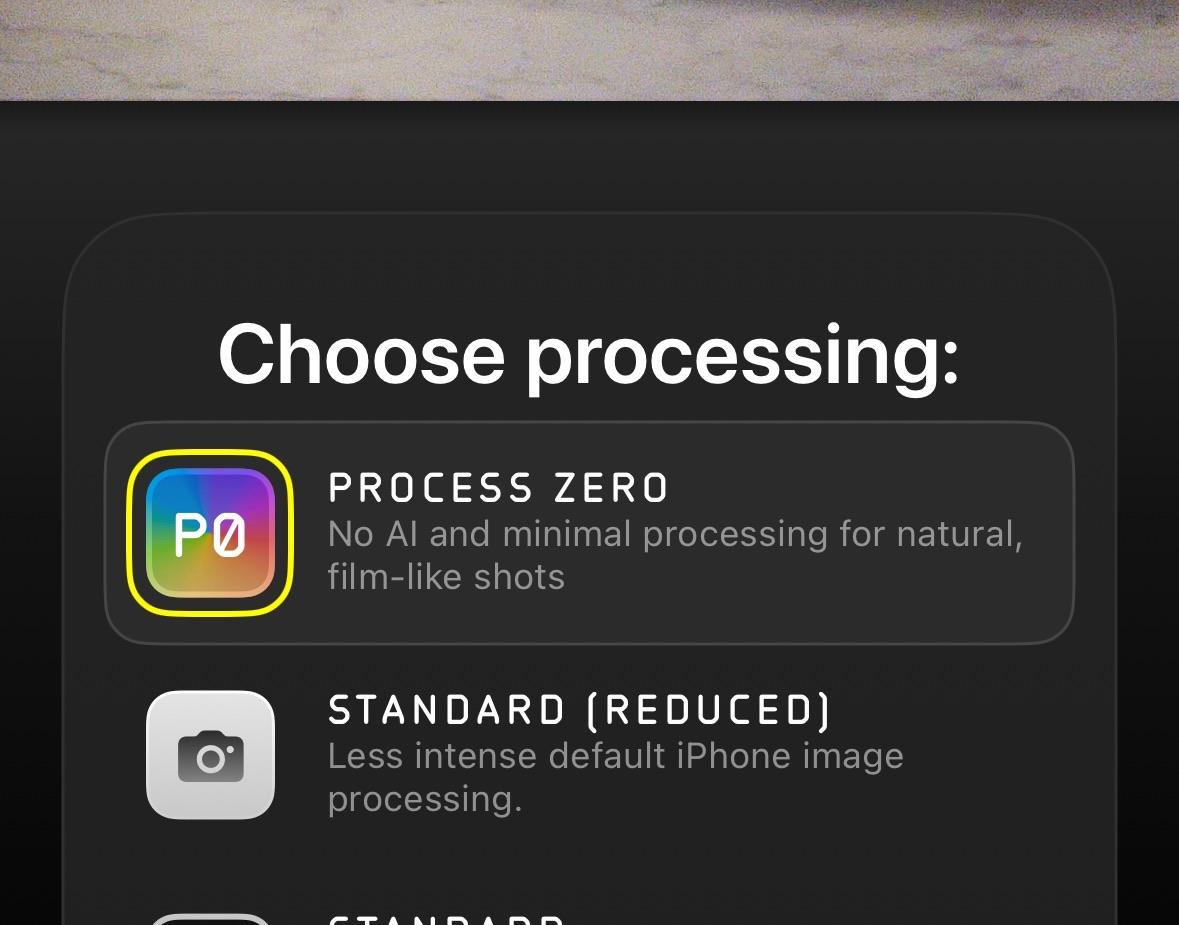
I’ve been using the Process Zero feature in Halide for a while now, but I’ve just realised that I misunderstood how it actually works. I had thought that when I selected Process Zero and exported the DNG (RAW) file, I was still getting the benefits of the Process Zero feature. But it turns out that’s not the case at all.
Process Zero applies only to JPEG/HEIC files. When I export the DNG (RAW) file and edit it in Lightroom or Darkroom, it’s not a Process Zero shot. The DNG (RAW) file is just that—a (mostly) unprocessed RAW image. I never made the connection that Process Zero is entirely automatic and doesn’t involve any post-processing and the JPEG/HEIF was the finalised Process Zero image.
It makes sense now why some people are confused, just like I was. You select Process Zero in the app, take a photo, and then export either the DNG (RAW) or the JPEG. I just assumed the label applied to both, but it only works for JPEGs or HEICs.
What I didn’t understand is that Process Zero is supposed to give you a final image with no extra editing needed. I’ve seen posts labelled “Process Zero” that I thought looked incredible, but now I realise many of those shots were likely edited DNG (RAW) images, not true Process Zero outputs. It’s kind of a humbling realisation, knowing that I’ve been misinterpreting this feature the whole time.
Halide II Settings · 13 October 2024 ·To compare the two, I decided to head over to the Billie Johnson Mountain Lakes Nature Preserve to capture images in the DNG and HEIC formats. The air was crisp and cool, and the sky was overcast, casting a soft light over the autumn foliage. The temperature was just right for a peaceful walk—around 12°C—and the air smelled fresh like it had rained overnight. It was 9:38 AM when I arrived, and the trees were full of colour: vibrant reds, golds, and deep oranges, making for a perfect backdrop to capture the differences between the two formats.
Halide II Settings · 13 October 2024I made sure to shoot three sets of images, saving both the DNG (RAW) and HEIC versions. I kept the ISO low to avoid unnecessary noise and allowed Halide to automatically handle the white balance and focus. While the HEIC would benefit from Process Zero’s automatic adjustments, the DNG (RAW) was left unprocessed, awaiting post-production in Lightroom Classic.
Halide II Settings · 13 October 2024 ·With the shots taken, I packed up, feeling eager to dive into the files later at home and truly see the differences between the detailed DNG (RAW) files and the more compressed HEIC versions. I took a closer look at the metadata of two photos I captured: one in DNG (RAW) format and the other in HEIC.
The DNG file, which is a DNG (RAW) format, is designed for detailed, uncompressed images. This means I have much more flexibility when it comes to post-processing. However, this advantage comes with a trade-off: the file is a hefty 14 MB, making it significantly larger than the 2 MB HEIC file. The HEIC format, on the other hand, is compressed, which allows for smaller file sizes, making it easier to store and share but I lose some detail and editing flexibility.
While examining the metadata, I noticed that the DNG file contains intricate details about colour matrices. This information is invaluable for DNG (RAW) editing software like Adobe Lightroom, allowing for precise adjustments. In contrast, the HEIC file doesn’t include such details since it's meant to be more of a finished product
Moreover, the DNG (RAW) file includes additional metadata about its format, such as the DNG version and details for backward compatibility, along with a more extensive Exif data block. The HEIC file, being optimized for efficient storage, has fewer technical details, focusing more on user convenience.
Here’s a comparison of the key differences between the two files:
AttributeDNG File (RAW)HEIC File (JPEG/HEIC)File Size12.5 MB4.5 MBFile TypeDNG (RAW)HEIC (JPEG/HEIC)CompressionLosslessCompressedFor comparison, I exported the untouched DNG file to a JPEG and exported the untouched Process Zero HEIC to a JPEG. By untouched I mean that I did not make any changes to these DNG or HEIC images before conversion to JPEG.
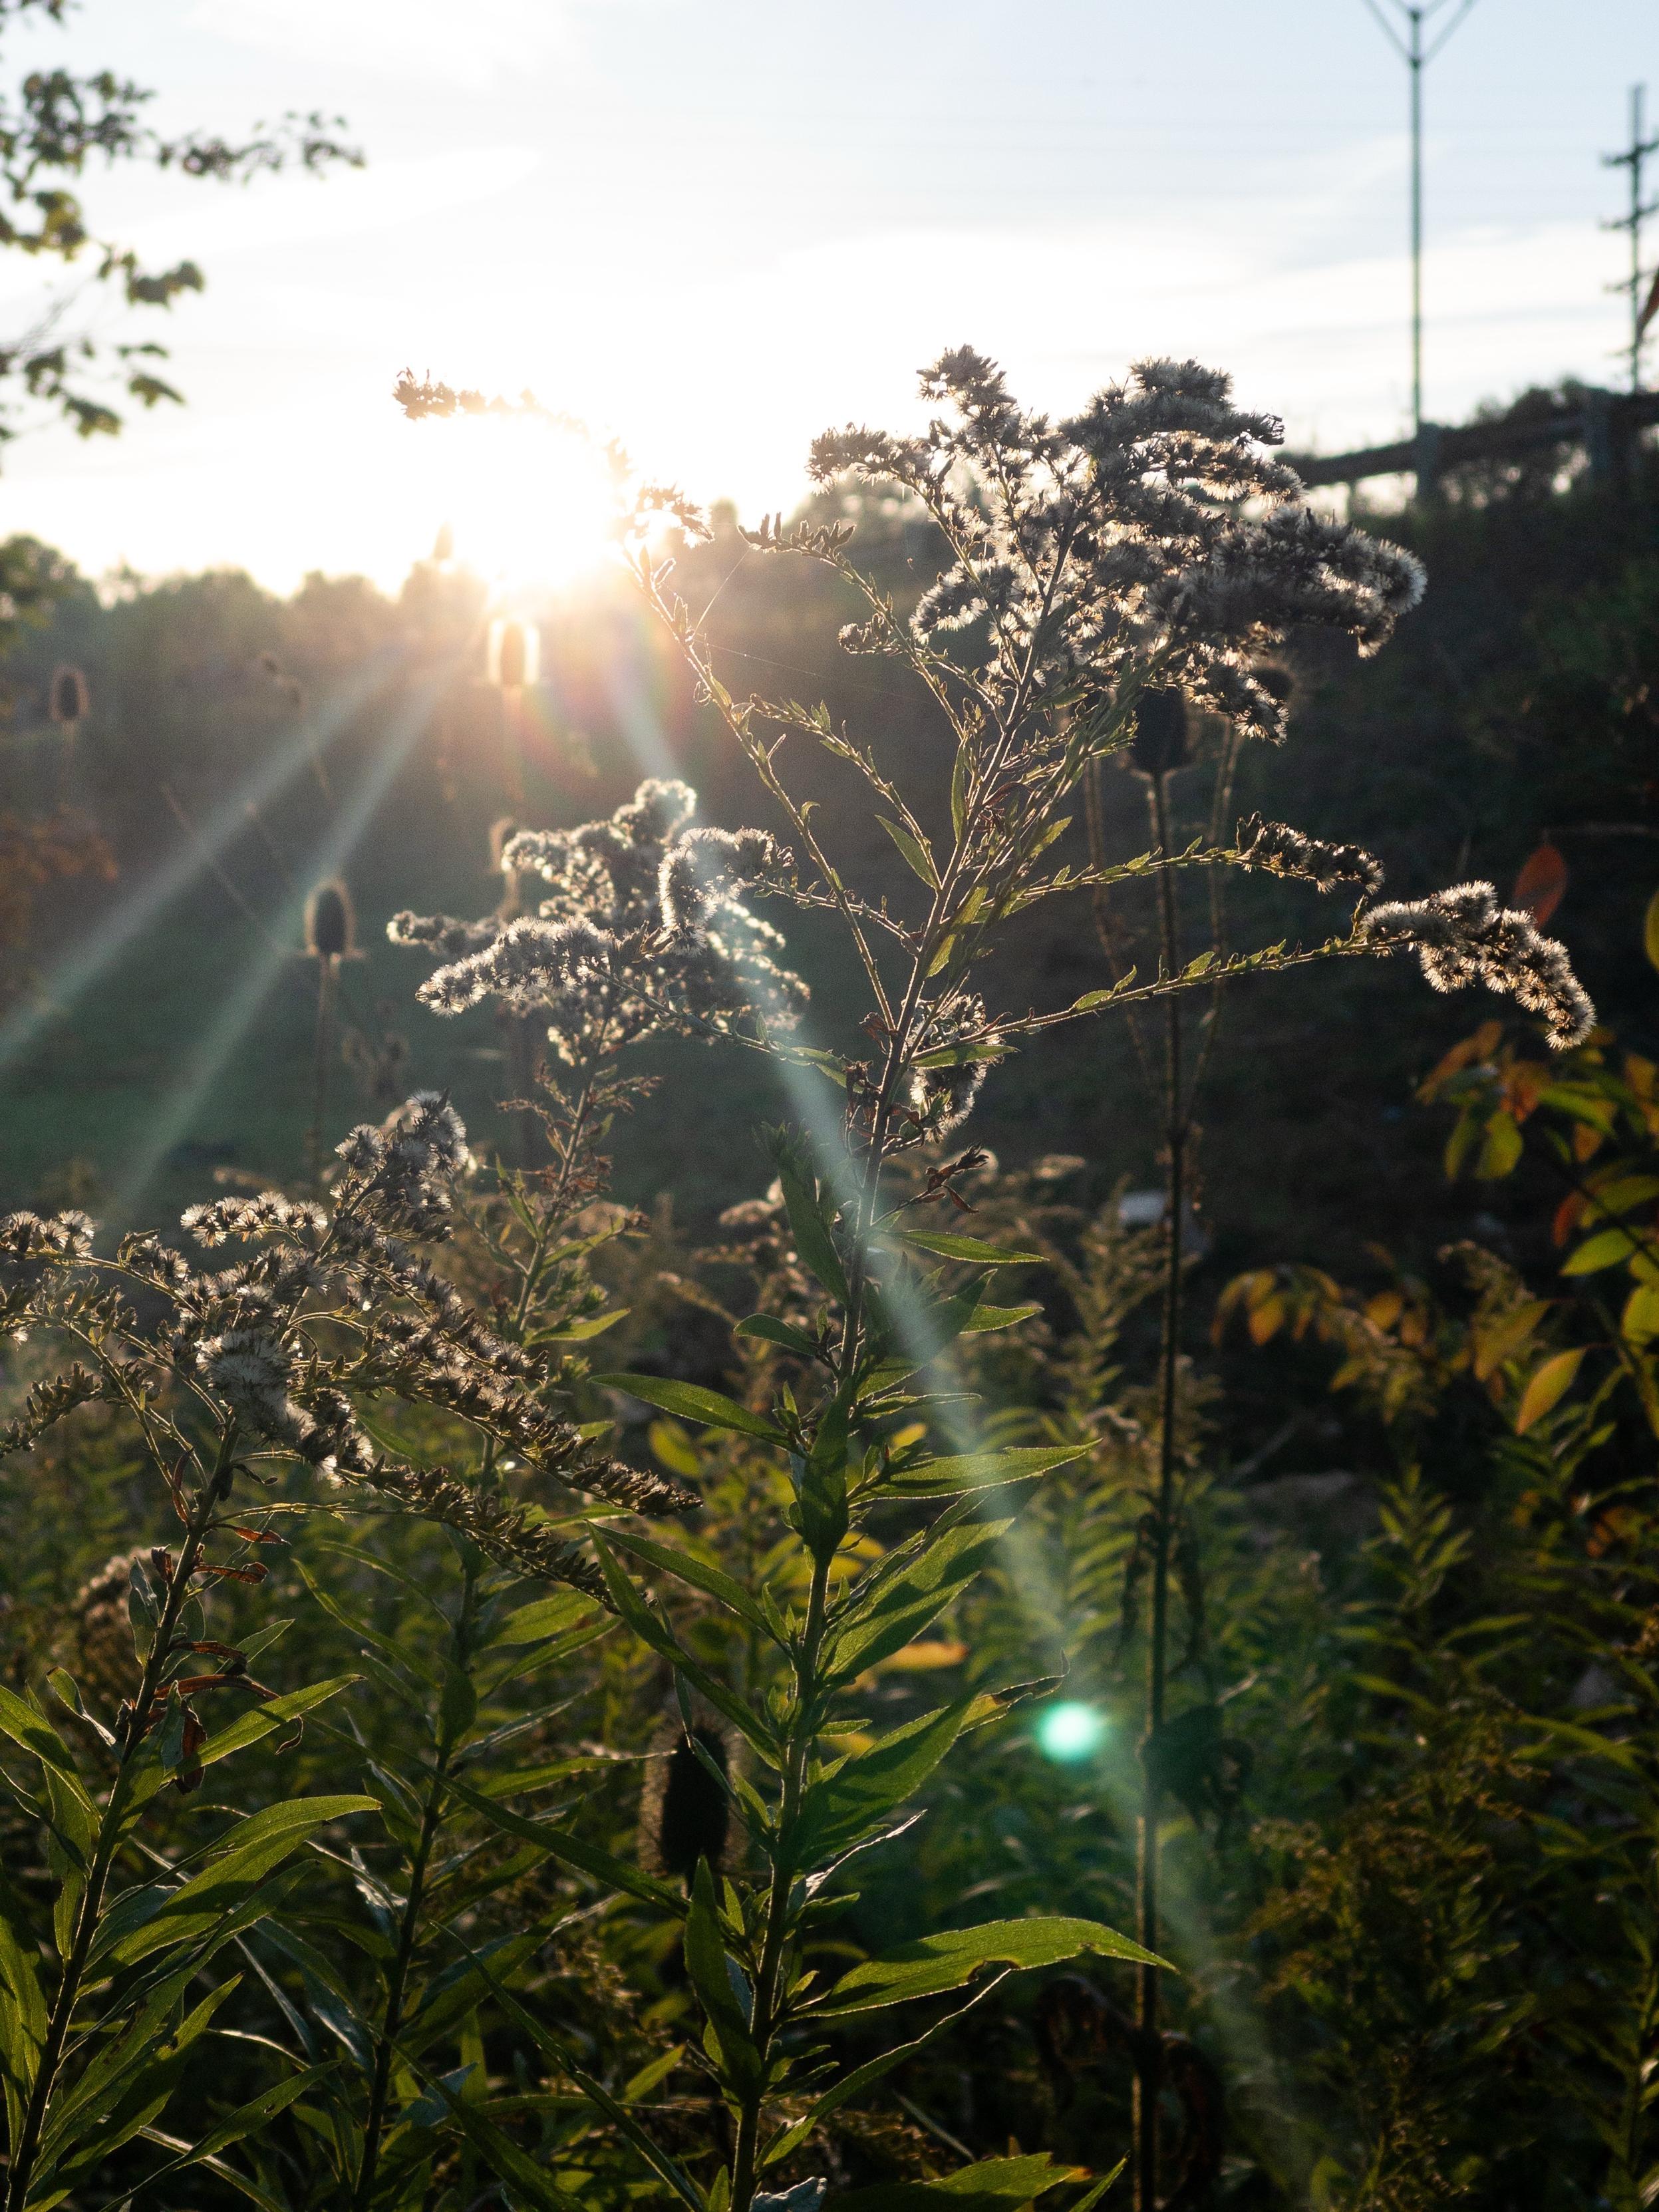
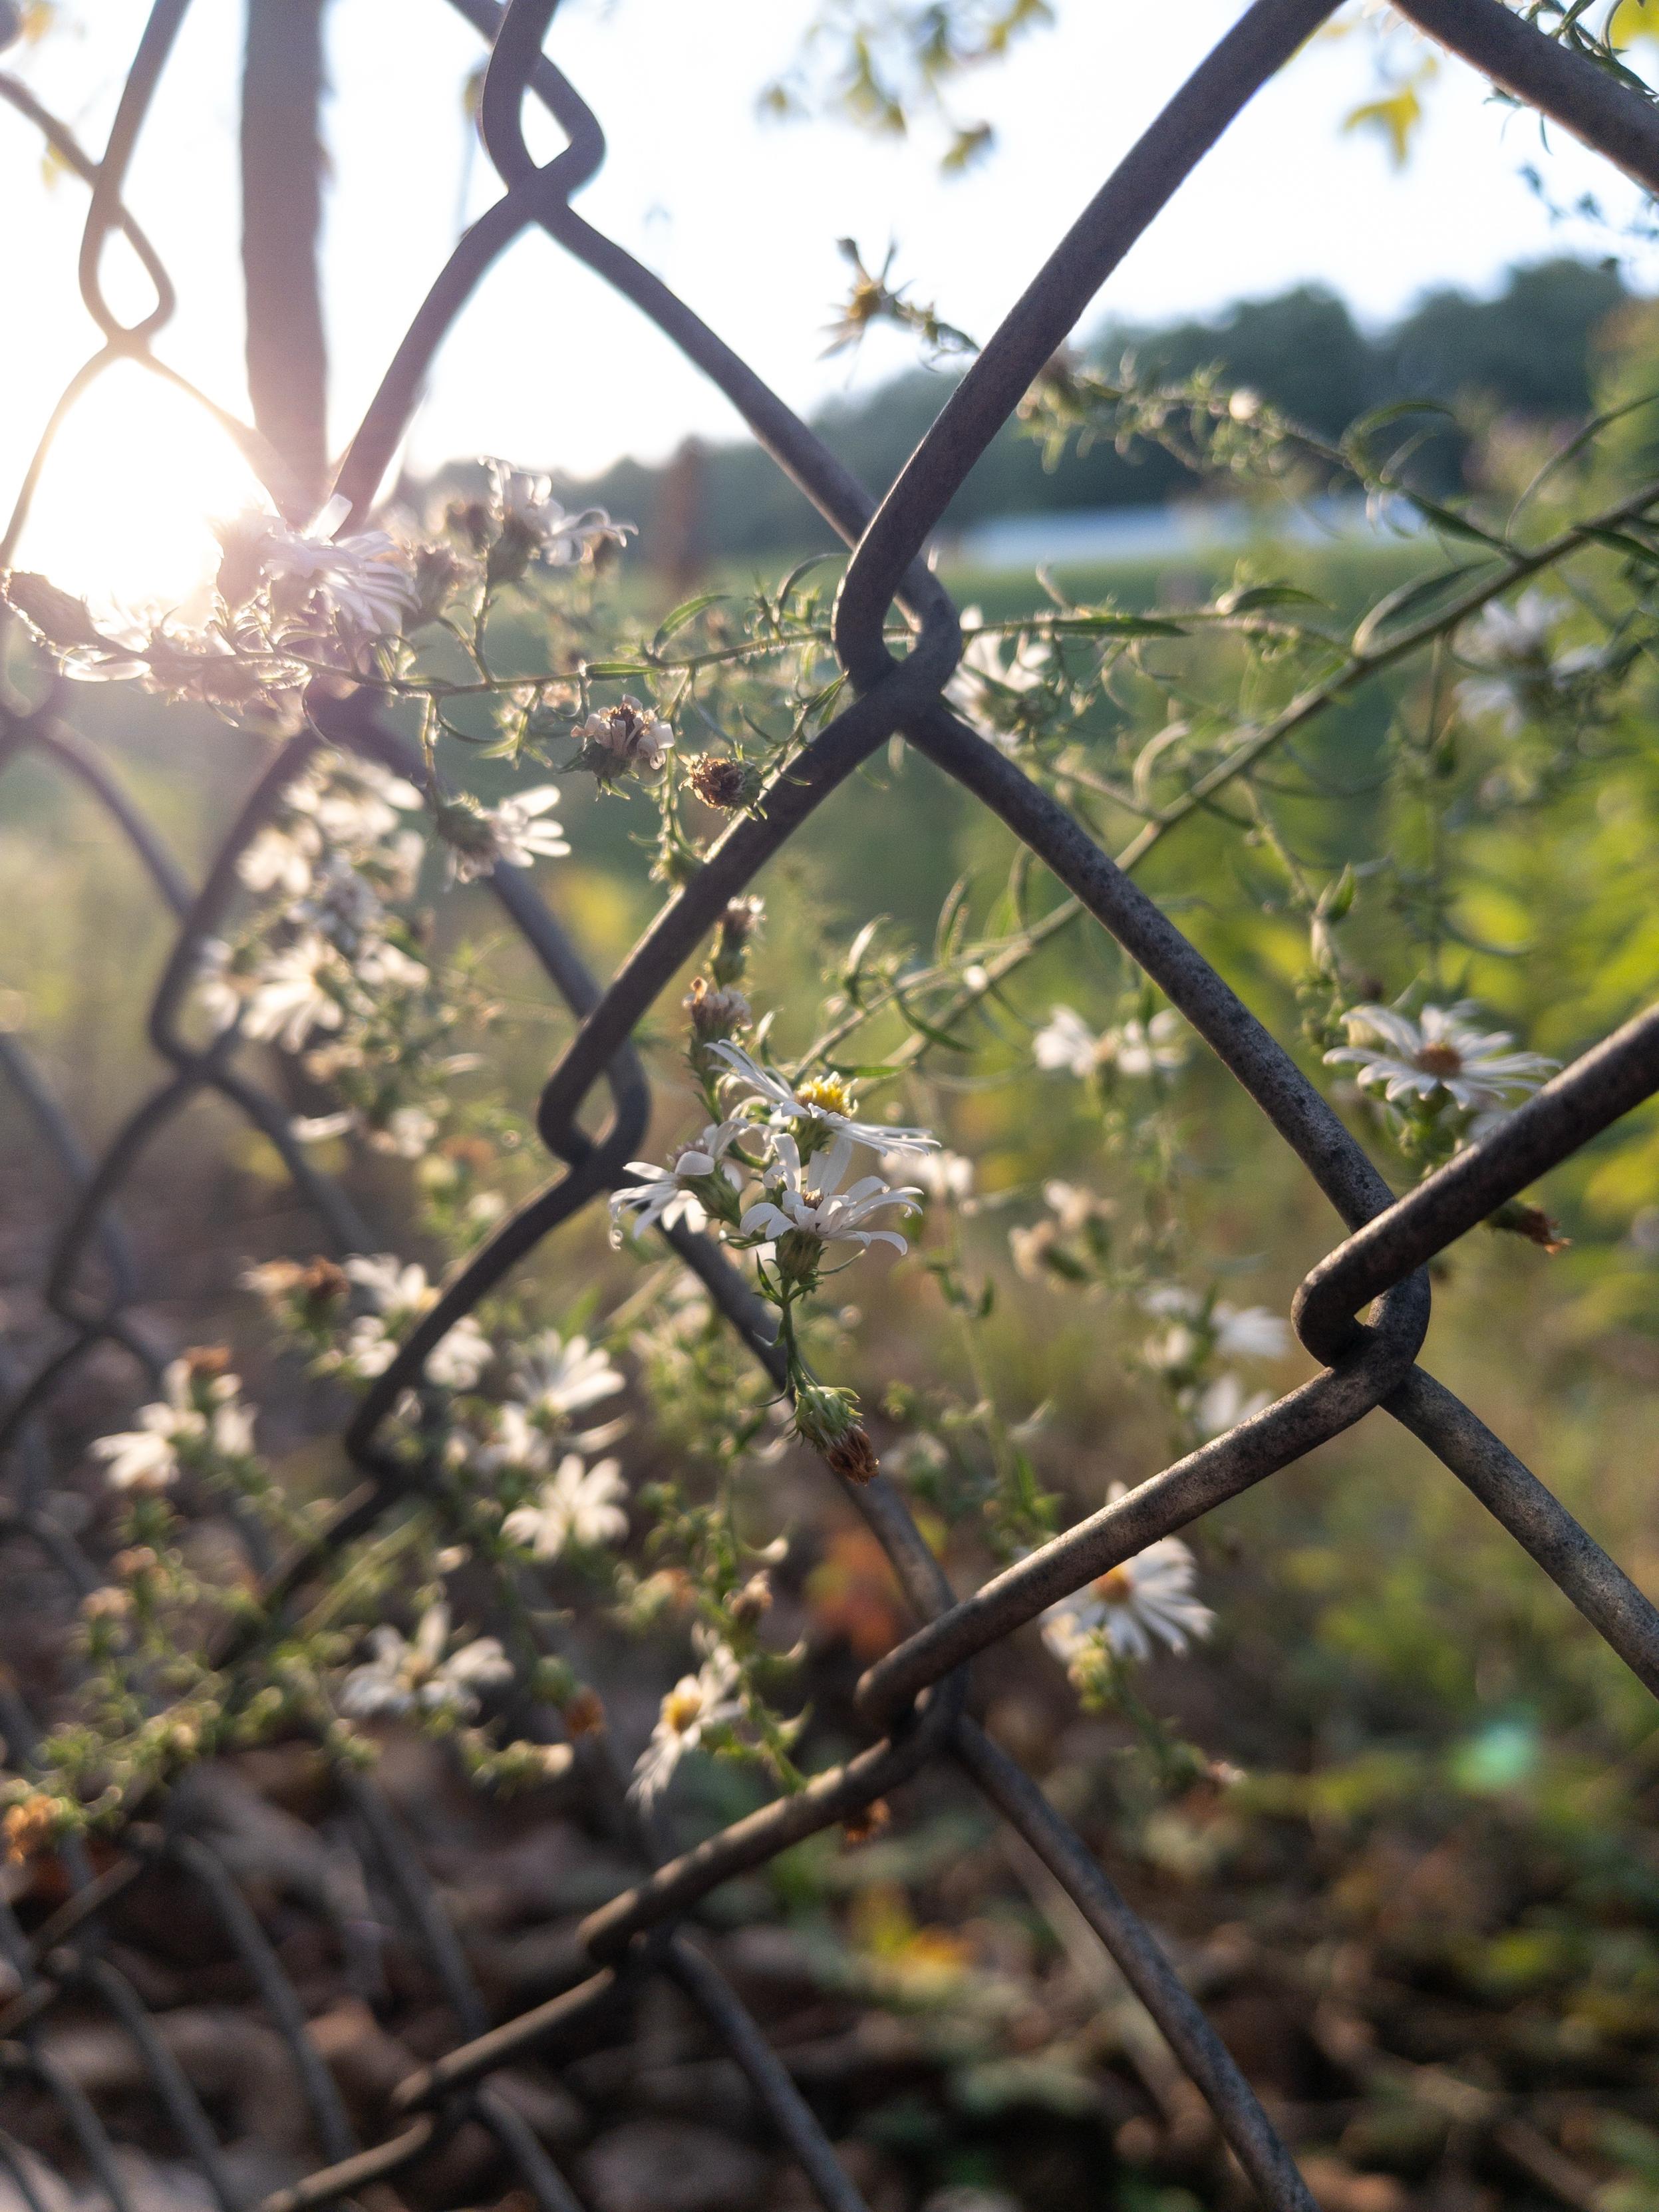
Untouched DNG exported to JPEG · 13 October 2024 · Apple iPhone 11 Pro · iPhone 11 Pro back camera 4.25mm f/1.8 Untouched Process Zero HEIC exported to JPEG · 13 October 2024 · Apple iPhone 11 Pro · iPhone 11 Pro back camera 4.25mm f/1.8For the processed DNG (RAW) image I then applied my edits in Lightroom: adjusting exposure, contrast, highlights, shadows, blacks, texture, and vibrance. I then used the AI-powered Enhance Details feature of Adobe Lightroom Classic before exporting the image to a JPEG. Here is the result:
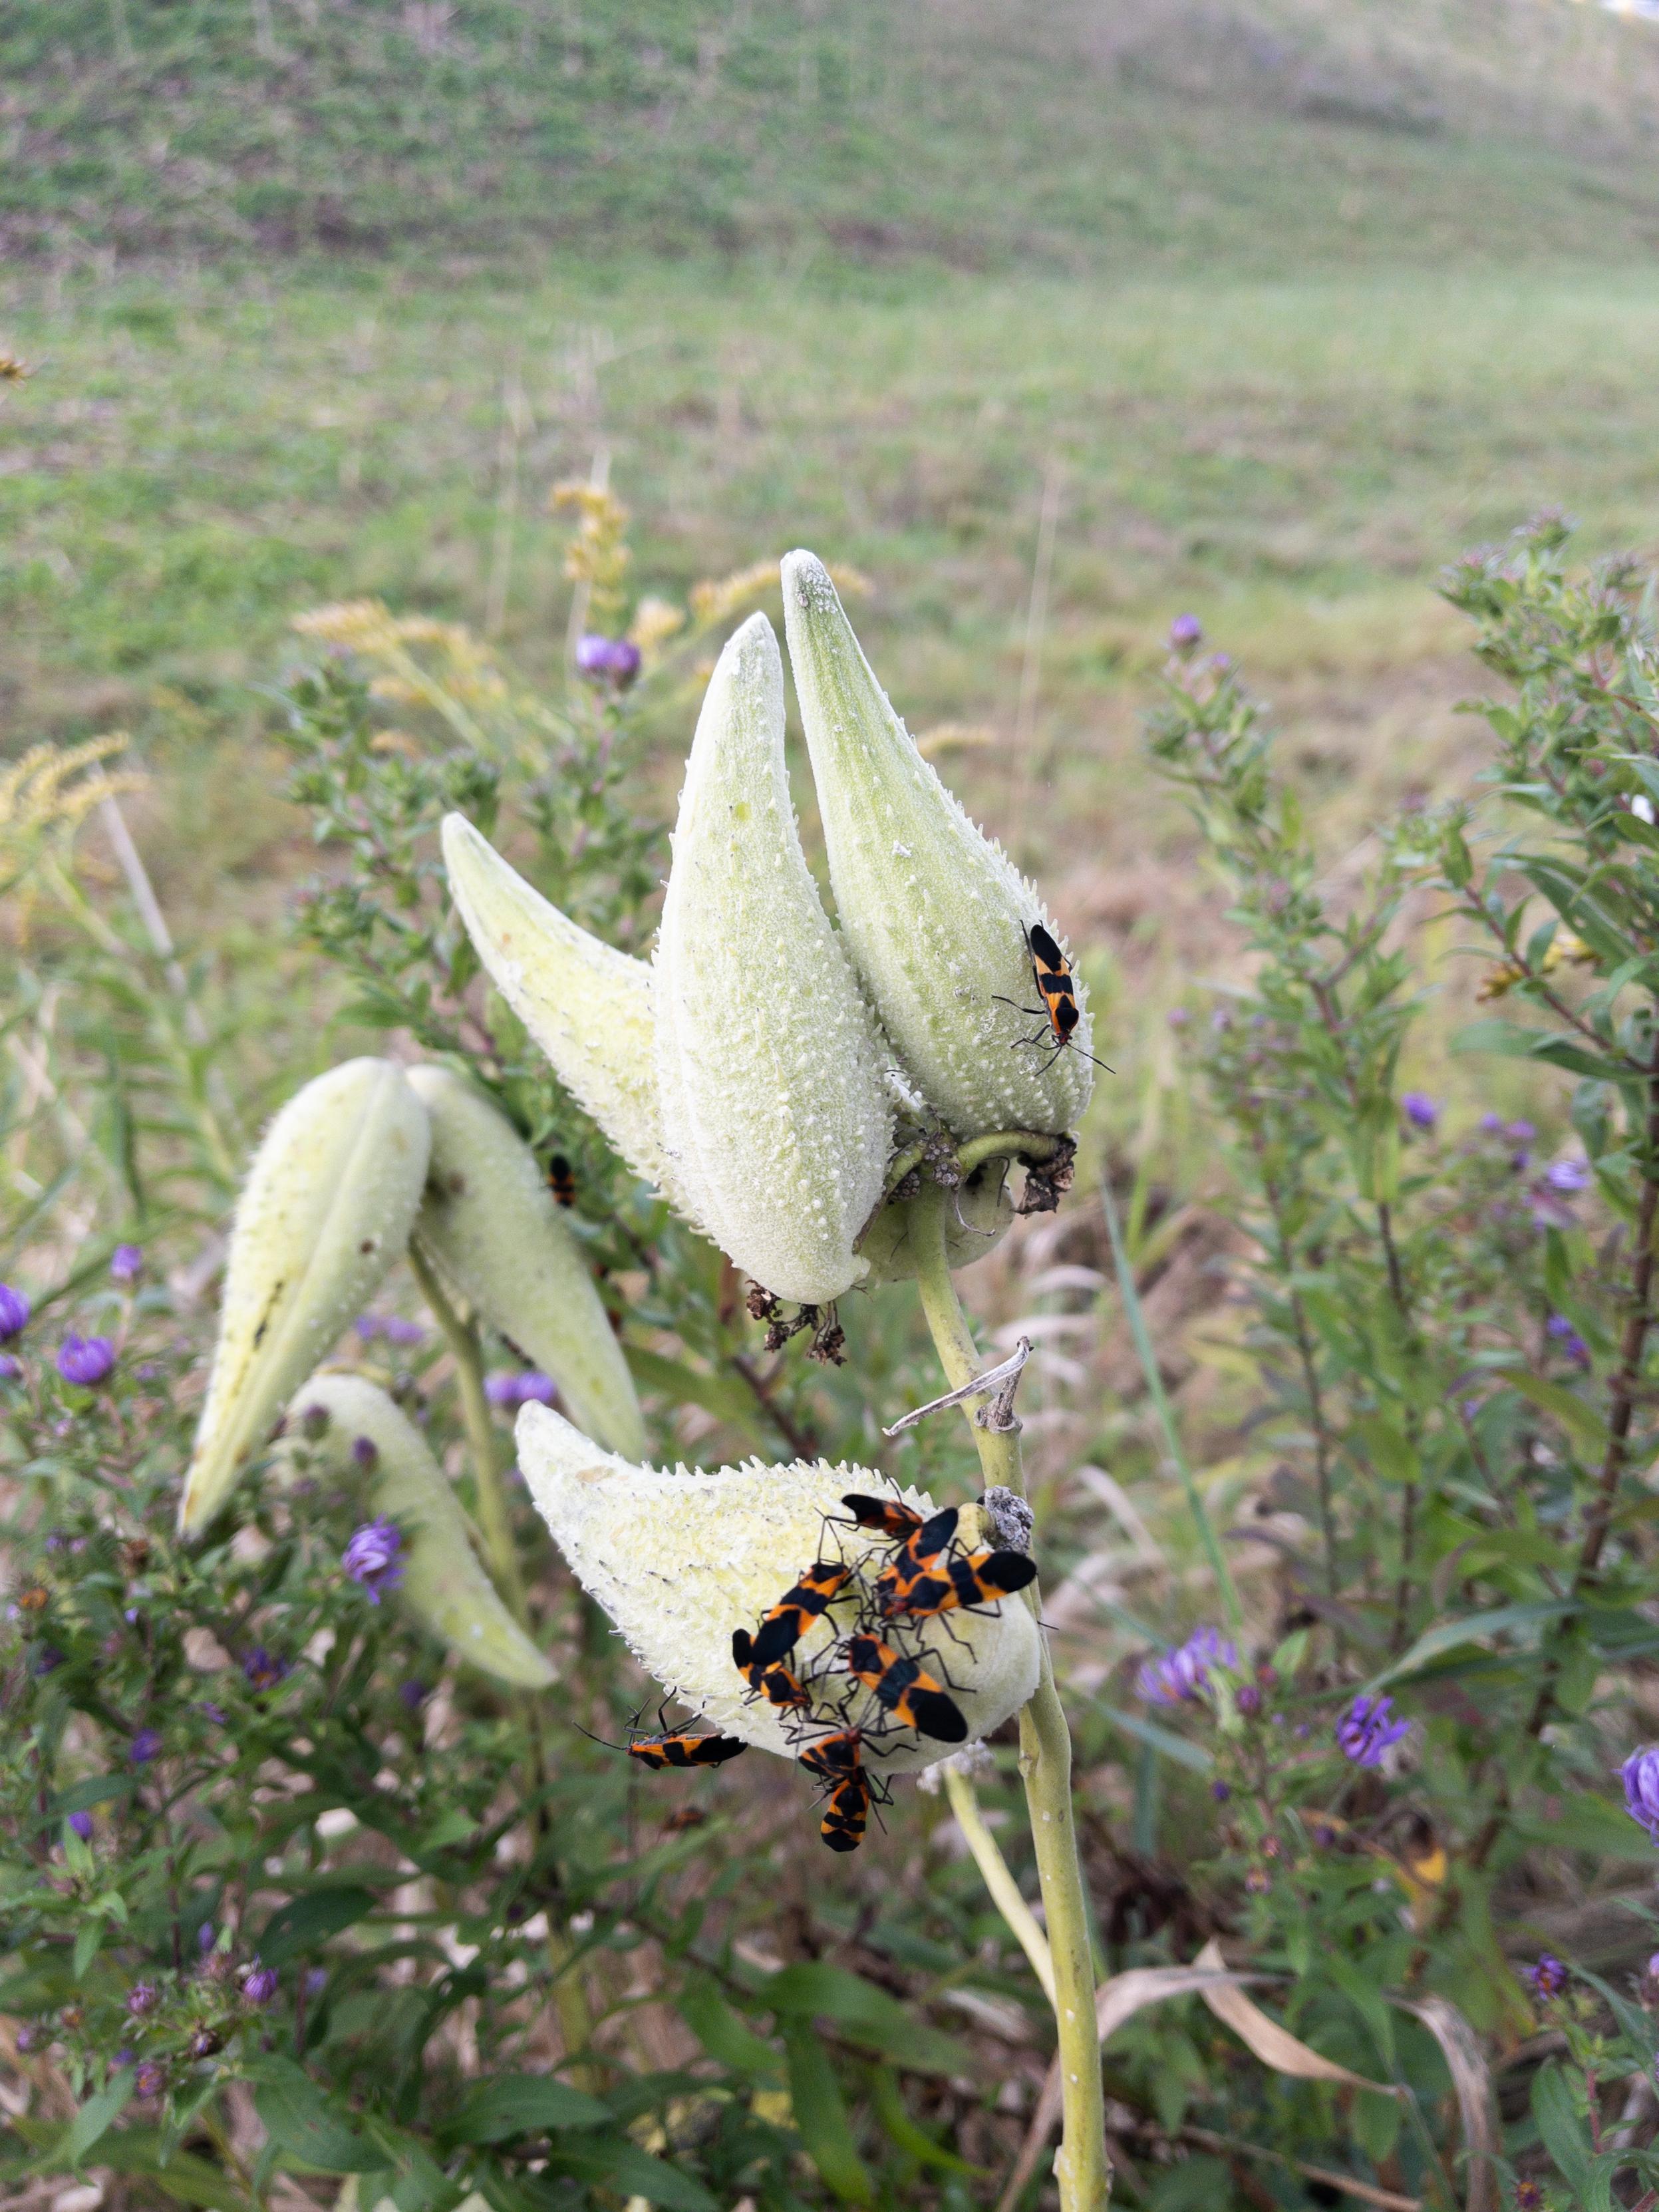
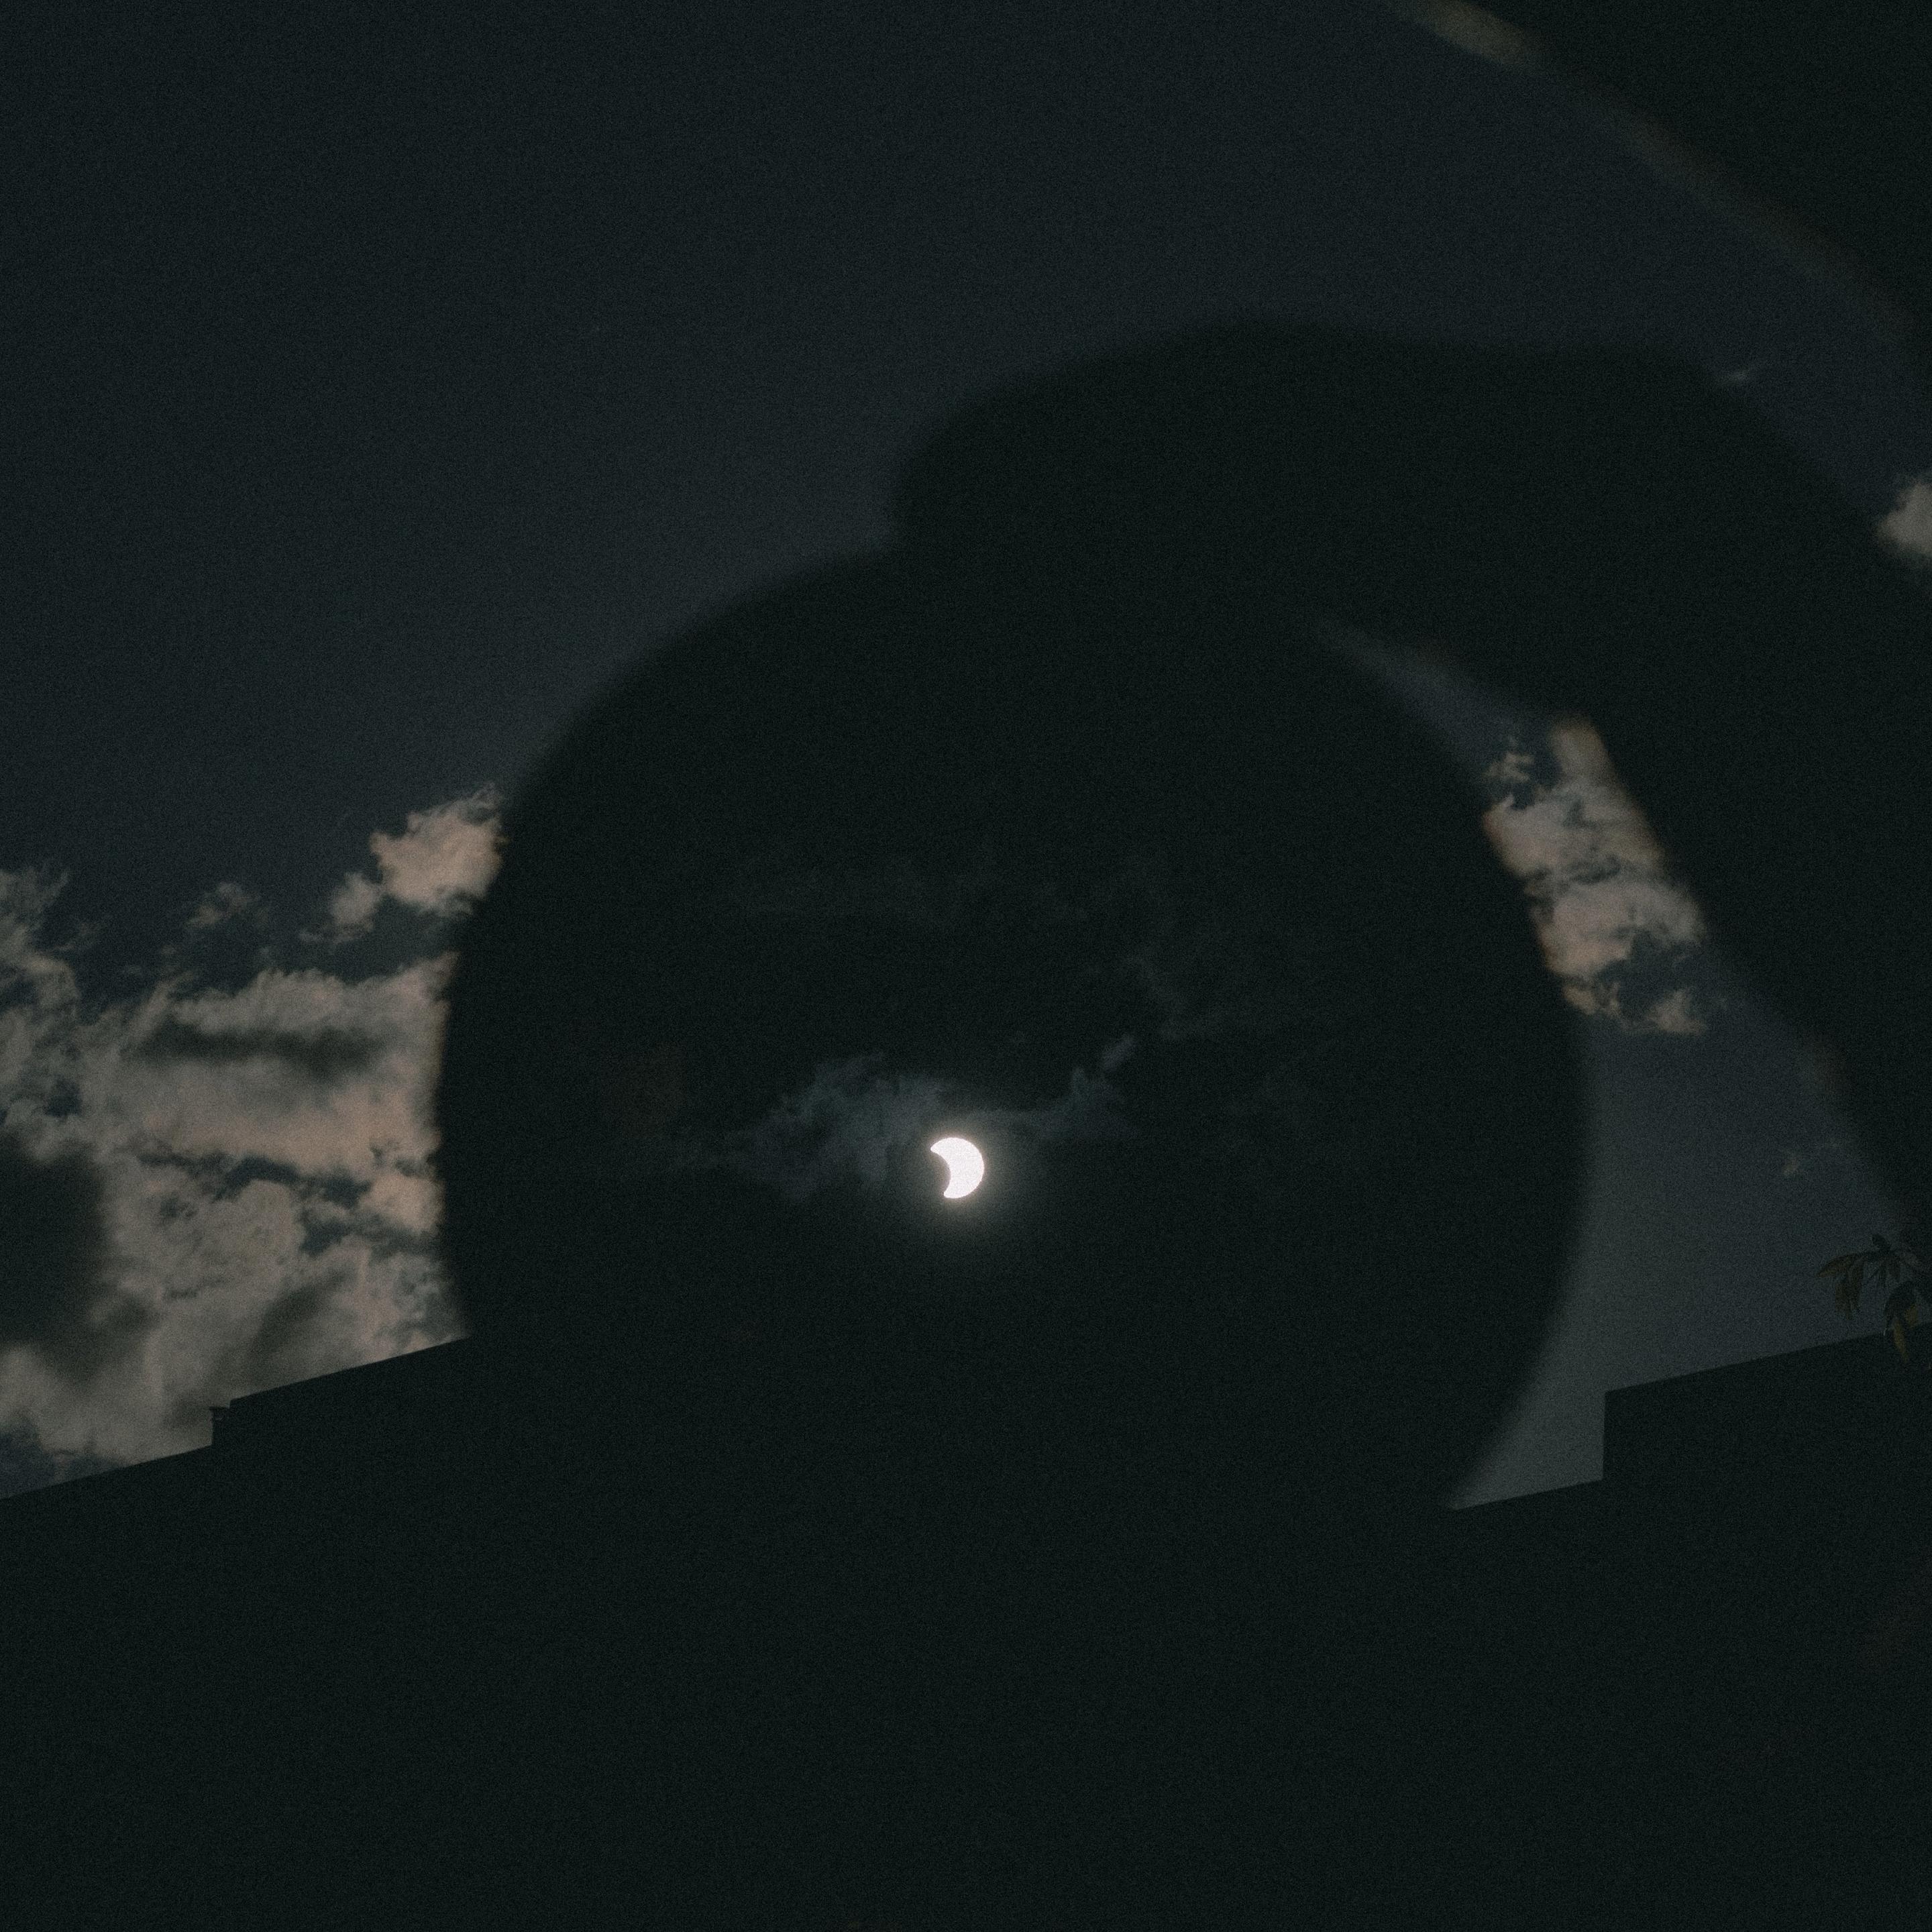
Processed DNG exported to JPEG · 13 October 2024 · Apple iPhone 11 Pro · iPhone 11 Pro back camera 4.25mm f/1.8As for the Process Zero HEIC, I intentionally left it unedited because that’s the point of Process Zero—you're supposed to get a final image straight out of the camera (SOOC). The reality? It’s unpredictable. The image preview on your iPhone will never resemble the final HEIC that Process Zero produces. Shots are either blown out or underexposed with no reliable way to ensure a great result.
I’d advise not using Process Zero if the photo is important to you. For instance, I wouldn’t rely on it for vacation shots. Stick to the DNG (RAW) format for the most control and detail. While Process Zero is convenient, it pales in comparison to Apple’s ProRAW format, which provides significantly more flexibility for those looking to capture and edit with the finest detail.
This experience has solidified for me that DNG (RAW) is the way to go for detail and post-processing flexibility. Process Zero may sound like a hassle-free option, but its inconsistency makes it unreliable. For crucial shots, nothing beats editing your DNG (RAW) files yourself.
But I may be titling at windmills here. Maybe I can heed the words of fstoppers writer Alex Coleman.
When it comes to interchangeable lens cameras, raw is a clear benefit over JPEG. In phones, however, the files have little additional latitude when saved as a raw file. Sure, you have less discretion over HDR and white balance by sticking with the default camera app, but are you really micromanaging those settings when shooting with a phone? Why You Shouldn’t Waste Money on Camera Apps
by Alex Coleman, March 23, 202