Made new dice, vaguely Cthulhu-inspired.
#dice #handmadedice #resindice #epoxy #epoxydice #penandpaper #cthulhu #starfishskiesdice
My daughter had a few boxes of Girl Scout cookies left to sell, so we made up some "dragon-snails". People could adopt-a-snail (for the price of 3x boxes of cookies), and get 3x FREE boxes of cookies! Such a deal!
One (rear) had garnet cabochon eyes, and the other (front) had tigerseye cabochon eyes.
I glued the bubinga fingerboard to the #bass neck this afternoon. The hard maple neck is reinforced with 2 (probably overkill) carbon fiber rods and a truss rod. Inlays and side markers are Total Boat #epoxy with Black Diamond Pigments for the blue/green color. Now on to the body. #maker #pghmaker #diy #wood #woodworking #clampchamp #bassguitar #luthier #empireofdust
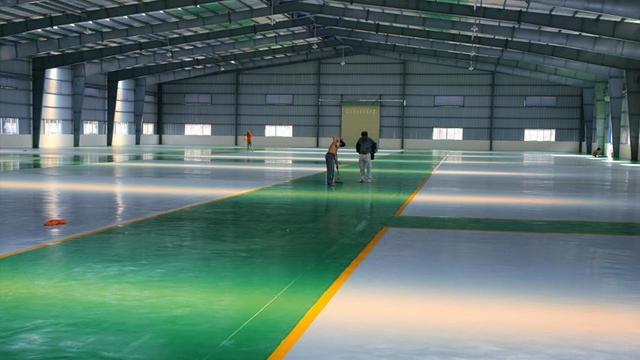
Sơn nước epoxy – giải pháp bền đẹp cho sàn nhà xưởng, showroom, bệnh viện! Kháng khuẩn, chống thấm, dễ lau chùi. Tìm hiểu ngay!
https://phuocphancoatings.com/son-nuoc-epoxy #Epoxy #SơnNhàXưởng #BềnĐẹp

Innovative epoxy resin combines fire safety, recyclability and high performance
https://phys.org/news/2025-02-epoxy-resin-combines-safety-recyclability.html

How to remove/demold a part from a fragile part. (Hint: You can create shear in more than one way, and it may be better than creating a peeling action with hammer and chisel.)
The blue Styrofoam that served as the form will be destroyed as it's removed from the fiberglass wingtip weel, but it's a one-off form/mold that lacked any taper.
(This is a follow up to https://universeodon.com/@KrajciTom/114079474882668327 )
#avgeek #aviation #ElectricAircraft #ExperimentalAviation #homebuilt
#Glider #DIY #Wing #Epoxy #Fiberglass #Composite #Shear #Peel
Making a custom wingtip wheel for my glider's right wing.
The bottom of the wingtip was covered with clear packing tape, then lightly waxed.
Hot glue temporarily attached the blue Styrofoam mold/form, which also contains the 60mm diameter roller blade wheel.
The part is made from seven plies of 7725 weave fiberglass that will be cut into a triangular shape after wetting with epoxy.
No vacuum bag, so this is a hand lay up. I had to use some small pieces of metal to coax the fiberglass to stay in the correct place.
The garage will be heated overnight so that the part cures, then some tugging and a rubber mallet should separate the part.
#avgeek #aviation #ElectricAircraft #ExperimentalAviation #homebuilt
#Glider #DIY #Wing #Epoxy #Fiberglass #Composite
Heute 5 Stunden #Epoxydharz-#Kunst (60x90 cm) mit Nichte (13) und Neffe (16).
#epoxy
Epoxy Resin Wood Table Top
https://www.umifani.com/epoxy-resin-wood-table-top/?feed_id=6960&_unique_id=67aedeee92d0c&Mastodon
#epoxycoffeetable #diy #tabletop #table #epoxyresincountertop #woodworking #epoxycountertopdiy #Epoxy #tabletopepoxy #resin #epoxyrivertabletop #epoxyresin #epoxytabletopideas #epoxytable #epoxyrivertablediy #resintable #rivertableepoxyresin #epoxyresintable #epoxycountertop #epoxytabletop #countertopepoxy #endtable #coffeetable #countertopepoxy #epoxyresinrivertable...
木とレジンのテーブルの作り方 How to make river wood table.
#FURNITURE #seacret #sofa #diy #woodworking #accesorly #table #coin #riverwoodtable #making #jewerly #coffe #wood #stone #ハンドメイド #secretwood #机 #指輪 #レジン #彫金 #Epoxy #アクセサリー #作り方 #二液性レジン #Howtomake #クリスタルレジン #Howto #クリスタルレジ...
#Epoxy #resins are coatings and #adhesives used in a broad range of familiar applications, such as construction, #engineering and manufacturing. However, they often present a challenge to #recycle or dispose of responsibly.
#Chemistry #Environmental #sflorg
https://www.sflorg.com/2025/02/chm02062501.html
